Sticky leftovers on glass, wood, metal, and plastic frustrate anyone trying to tidy up quickly after peeling off a label or tape. Even gentle rubbing rarely works instantly, and sometimes residue clings stubbornly despite repeated scrubbing. When you need to remove sticky residue without harming the surface, having reliable methods at hand saves stress and time.
This topic matters far beyond household chores. Every spill, art project, or new appliance brings labels and tapes that leave that telltale tacky trail. People care about removing sticky residue safely, especially when dealing with delicate screens, furniture, or painted items. Choosing the right technique prevents accidental damage that costs extra to fix or replace.
Use this practical guide to equip yourself with proven techniques and product comparisons, step-by-step examples, and simple scripts for tricky situations. Let’s dive into methods that make removing sticky residue safe and stress-free.
Identify Residue Type to Pick the Right Cleaning Approach Every Time
Recognizing what kind of sticky mess you’re dealing with determines the safest tool and solution. Application of the wrong cleaner can cause unwanted surface marks or fading.
With this knowledge, anyone handling adhesive messes—from dried glue on a varnished table to tacky label remains on a water bottle—can choose a method that preserves the original finish confidently.
Rule: Test a Small Hidden Area First Before Applying Any Product
Start by dabbing your cleaning agent onto a concealed spot, like the back corner of a frame or underside of a mug. Watch for color change or dullness.
Wait five minutes and wipe the spot. If nothing’s changed, proceed to treat the entire sticky area. Skip this test only if working on a disposable object or cheap plastic.
Avoid the temptation to rush—surface tests frequently save headaches you’d wish to avoid later, especially on screens, lacquered wood, or painted surfaces.
Example: Removing Tape Residue from Painted Walls Without Damage
After moving posters, tape often leaves strips behind. Instead of scratching, gently rub the residue with your finger to ball it up and lift.
If manual rolling fails, press a warm, damp microfiber towel over it for thirty seconds. Soften the adhesive first, then wipe to see if it transfers to the towel.
If tackiness remains, lightly brush with a diluted dish soap solution. Rinse and pat dry. Most paint will stay flawless if you avoid scouring pads or strong chemicals.
| Surface Type | Best Product | Expected Results | Takeaway Tip |
|---|---|---|---|
| Glass | Rubbing Alcohol | Residue dissolves quickly | Buff gently with soft cloth |
| Plastic | Dish Soap & Water | No haze, safe for color | Use mild soap, no abrasive tools |
| Wood (varnished) | Vegetable Oil | Residue lifts, varnish unharmed | Wait 1-2 min, then remove oil |
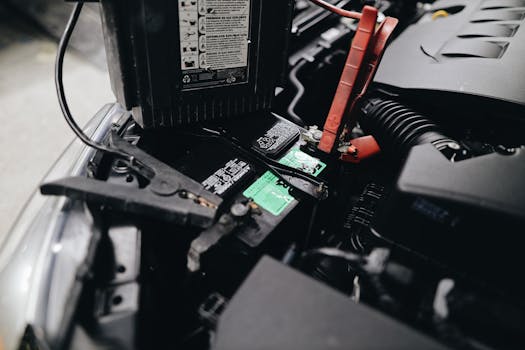
| Metal | WD-40 | Adhesive breaks down | Wipe dry to avoid streaks |
| Electronics | Microfiber Cloth & Water | Residue wipes away | Dab, don’t drench circuitry |
Use Everyday Household Items That Remove Sticky Residue Effectively
Not every situation calls for commercial products. Several ordinary items can safely handle sticky residue and belong in your cleaning toolkit for quick response.
Turning to household standbys saves a last-minute run to the store. It also lets you choose gentler options when you need to protect surfaces or work around kids and pets.
Mini Checklist for Safe DIY Cleaning
First, gather your basics: dish soap, vinegar, vegetable oil, baking soda, and a clean cloth. Run warm water nearby. Have a plastic card or old gift card ready.
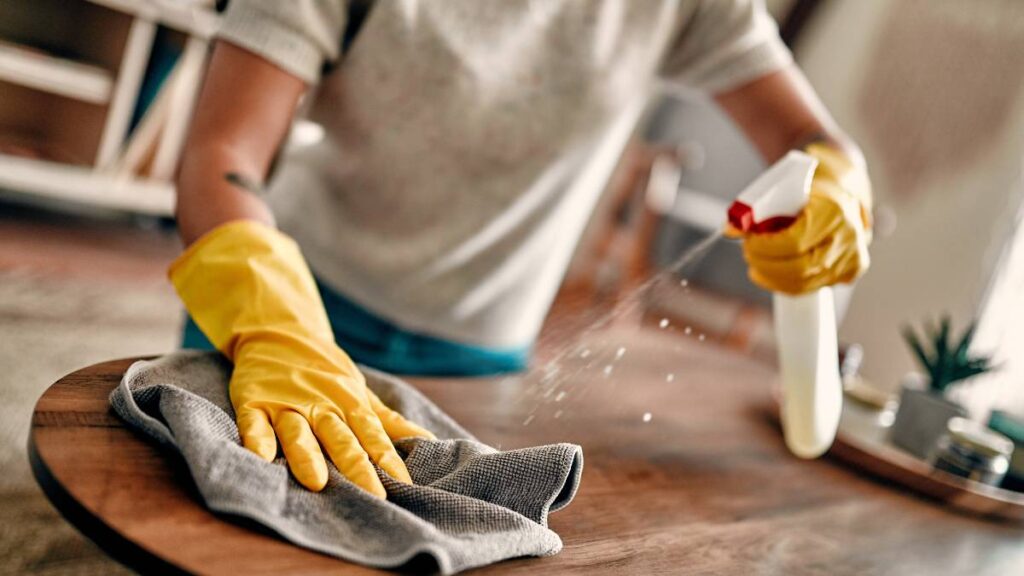
Next, protect the work area by laying down an old towel or newspaper. Wear gloves if you dislike residue on your hands. Try each solution in a small hidden spot first.
- Pour vinegar onto a microfiber cloth to dissolve sticky residue on glassware, mirrors, or oven doors. Rub in small circles and wash with clean water.
- Mix baking soda and water into a paste for stubborn adhesive on unpainted metal pans or stone counters. Scrub gently using the paste, rinse away all grains afterwards.
- Apply vegetable oil directly to tape residue on plastic bins. Let it work for one to two minutes, then wipe away sticky spots and excess oil with a towel.
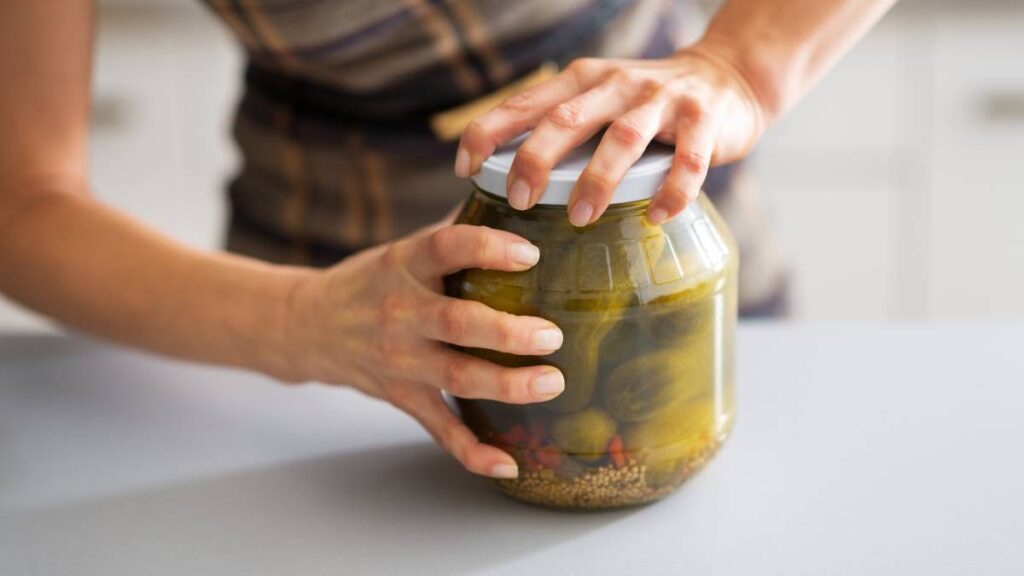
- Use dish soap diluted in warm water for sticky jars, utensils, and lunchboxes. Soak for several minutes, then rub gently with your fingers or a sponge.
- Repurpose an old plastic gift card or hotel key to scrape residue from hard surfaces. Press flat and move in one direction. Discard after heavy buildup forms on the edge.
These household fixes address most sticky situations quickly, sparing your surfaces from harsh chemicals. Repeat steps as needed for complete removal, always ending with a rinse or wipe down.
Realistic Scenario: Cleaning Residue from a Phone Case After Removing a Sticker
When you remove sticky residue from your tech, test solutions away from sensitive buttons. For a silicone or plastic case, dab vinegar on a microfiber and gently buff in circles.
If sticky spots linger, rub with a minimal amount of dish soap and water. Dry carefully before reattaching your phone. This preserves appearance and function while eliminating all tackiness.
- Start with the gentlest method, moving to stronger solutions only if residue stays. This minimizes risk, especially on clear or colored surfaces.
- Avoid harsh solvents near electronics; use only water or mild soap on device housings, charging ports, or phone screens for long-term safety.
- After cleaning, always dry surfaces fully. Lingering moisture sometimes causes spots or dullness where tape or stickers once were.
- Switch to a plastic scraper instead of fingernails to avoid accidental scratching or leaving behind unwanted traces of oil from skin contact.
- Document results by checking a light angle or using a flashlight. If haze or stickiness remains, repeat with a different solution before returning objects to daily use.
People who follow these steps enjoy spotless surfaces and peace of mind. Techniques work across glass, metal, appliances, containers, and numerous other sticky-spot culprits.
Sequence Safe Steps to Remove Sticky Residue from Tricky Surfaces
Knowing which order to try removal methods maximizes success and avoids accidental scratching or dulling of materials. Each stage builds on your previous efforts for thorough cleaning.
Follow this progression when tackling residue on expensive or sentimental items, and don’t rush the process—patience preserves value and extends the life of your belongings.
Do: Progress from Gentle to Strong—Don’t: Skip Steps and Risk Damage
Begin with a microfiber cloth and water for almost any object. Rub in gentle circles and check your progress frequently under direct light.
Move to mild liquid soap or a natural oil applied with a towel for stubborn messes. Pause briefly and wipe away residue between steps to monitor results.
If you notice changes in shine or color, stop and reassess before moving forward. Patience beats endless scrubbing that could leave behind visible abrasions or gloss loss.
Analogy: Removing Sticky Residue Is Like Peeling Off a Temporary Tattoo—Stage by Stage
Instead of one aggressive rip, take a slow, layer-by-layer approach. Start by dissolving the top layer, then work gently deeper until all residue disappears.
Every pass lets you observe surface changes. Skip the urge to scrape hard or use sharp tools, which would be like scratching at skin after a tattoo removal.
Treat each item with focused care, checking each pass, and you’ll avoid lasting marks—leaving beloved surfaces smooth and unscarred.
Finish with Clean Results Using Safe, Tested Sticky Residue Removal Techniques
The right blend of product choices, step-wise cleaning, and gentleness lets anyone remove sticky residue without worry. These techniques protect everything from vintage furniture to new electronics, regardless of surface.
Sticky situations pop up almost anywhere in everyday life, so being ready with safe removal strategies is invaluable. It reduces headaches, saves cleanup time, and preserves the beauty of belongings.
Rely on these methods each time you need to remove sticky residue. Remember, patience and the correct sequence work together—your surfaces will stay looking their best.