Small tears in clothes strike at the most inconvenient times. You notice them right before a meeting or a day out. Yet, by learning a few effective techniques for clothing repairs, you can fix these hiccups swiftly and move on confidently.
Micro lifestyle skills save time and money by making home repairs part of daily life. Clothing repairs teach resourcefulness, reduce waste, and empower clothes owners to get more from their wardrobe with just a little know-how and a humble needle.
Reading on, you’ll pick up foundational tricks for clothing repairs that blend seamlessly into any routine. Whether tackling jeans, shirts, or favorite workout gear, you’ll leave equipped to keep your style going strong without external help.
Spot Visual Signs and Take Rapid Action to Prevent Bigger Damage
Spotting clothing tears early makes repairs faster and cleaner. Immediate intervention keeps a tiny hole from spreading, saving time and preserving the fabric’s strength for future clothing repairs and daily wear.
Look for loose threads, stretched seams, or fraying corners during laundry folding. Acting quickly—grabbing a needle or iron-on patch—transforms a looming problem into a simple routine fix with little stress or preparation.
Identifying Common Tear Types
Cuts on sleeves or pant knees often emerge after playground runs or active commutes. A zigzag separation means your fabric’s fibers have been pulled. Pinch the area; if it stretches further, it’s ready for a quick stitch-up.
Pinholes on collars or cuffs usually result from normal wear or repeated washers. Examine under light for faint outlines; as soon as they’re visible, outline the area with tailors’ chalk for targeting precise clothing repairs.
Ripped seams pose a different challenge. If the seam’s threads are visible but fabric edges remain strong, you’ve caught it early. Use a safety pin to hold the area before moving on to repairs.
Essential Supplies Checklist for Fast Fixes
A compact sewing kit—containing sharp needles, matching thread, and sharp scissors—covers most clothing repairs. Include safety pins, small fabric patches, and fabric glue for a versatile solution that can handle emergency situations anytime.
Keep tailor’s chalk and a seam ripper on hand. The chalk creates clear outlines before stitching, making the work cleaner, while the seam ripper gently unpicks accidental stitches or tangled threads without harming the garment.
Packing extras like iron-on patches or fusible bonding tape helps when thread matching feels tricky. These items take seconds to apply and last through repeated washes. Build your kit and place it somewhere easily accessible to boost clothing repairs efficiency.
| Damage Type | Supplies Needed | Time Estimate | Actionable Tip |
|---|---|---|---|
| Small tear in woven shirt | Needle, matched thread, tailor’s chalk | 10 min | Outline with chalk, stitch from inside to hide thread |
| Knee rip in jeans | Iron-on patch, scissors, iron | 12 min | Trim frays, glue patch inside, press firmly with iron |
| Open seam in T-shirt | Needle, matching thread, seam ripper | 8 min | Remove loose threads, sew overlappingly, knot tightly |
| Tiny hole on a sweater | Darning needle, extra yarn, safety pin | 15 min | Secure edges with pin, weave yarn across hole, tighten ends |
| Fraying cuff edge | Fabric glue, small patch | 5 min | Apply glue, fix patch, press flat until dry |
Stitch Smarter: Step-By-Step Sewing Basics for Clothing Repairs
Quick stitches reinforce weak spots for immediate fabric recovery. Mastering a handful of sewing methods, even with minimal experience, can keep your favorite attire wearable much longer than you’d expect for daily clothing repairs.
Work on flat surfaces, pull thread taut but not tight to prevent puckering, and always knot thread firmly. These actions ensure your efforts are neat, strong, and last through regular laundering.
Hand-Stitching a Short Tear
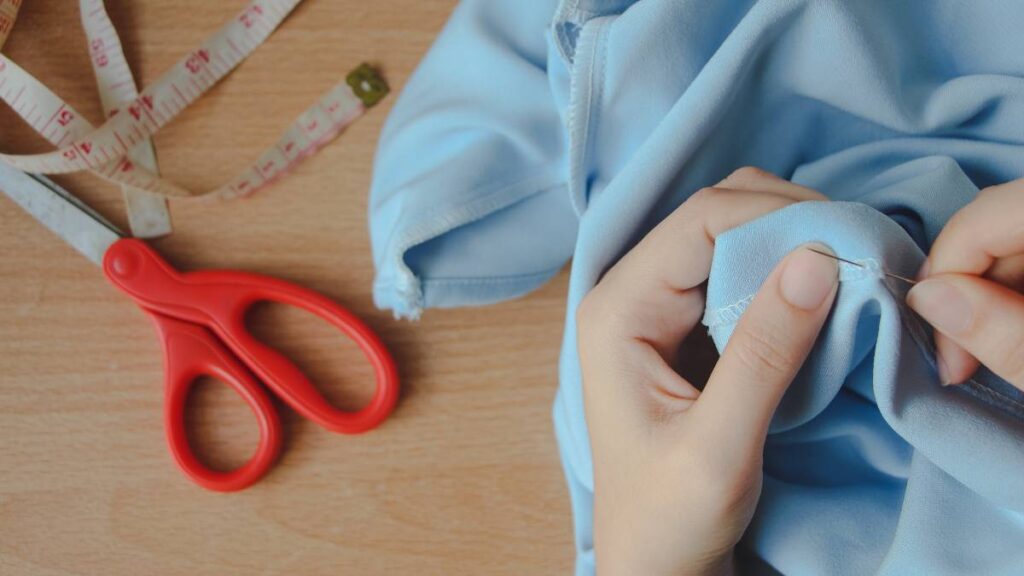
Start with the thread doubled for extra hold. Insert the needle from inside the garment to hide knots. Use the basic running stitch or whipstitch, pulling gently and checking alignment as you work across the tear zone.
- Pin fabric edges together for stability—prevents shifting under your fingers, making the repair line straight and clean every time.
- Double-thread the needle—offers reinforced strength, so your stitches resist washing machines and stretching during wear.
- Knot firmly at both ends—makes sure the repair doesn’t loosen regardless of the clothing’s movement or wash frequency.
- Match thread closely to fabric—blends the repair, so nobody else notices. For bold pieces, choose contrasting thread for a visible-mending effect.
- Keep stitches even—spaced 2–3mm apart, this prevents puckering, maintains flexibility, and distributes pull evenly along the tear line.
Refreshing your technique on an old t-shirt before tackling beloved jeans helps build skill and confidence. The more you repair, the faster every project goes.
Backing Tears with Patches and Glue
When fabric thins, reinforce rather than risk further damage. Prepare the patch by cutting it slightly larger than the tear, round the edges, and place on the fabric’s inner side for subtlety.
- Clean the fabric’s surface first—removes dust and oil, allowing glue or patch to adhere securely through any clothing repairs job.
- Cut the patch to size—a half-inch extra on all sides ensures a solid hold without bulky overlap or show-through lines.
- Apply glue sparingly—prevents saturation and keeps the patch flexible, suitable for elbows or knees that bend frequently.
- Press patch with even pressure—a book or iron works well, fixing the patch until set and helping the adhesive cure flat onto the fabric.
- Let dry overnight before wear—guarantees the repair lasts many washes and resists fraying, especially on high-movement areas like hems.
Patch placement works well not just for invisibility, but for adding creative flair. Try patterned scraps or decorative shapes for a playful, unique look.
Streamline Daily Clothing Repairs and Build a Lasting Habit
Treat small tear repairs like brushing your teeth: incorporate them into daily or weekly routines. Picking a convenient moment—while chatting or watching TV—removes the burden, turning clothing repairs into a micro lifestyle skill you barely notice.
Organize your supplies in one easily reachable spot, so when you find an issue during laundry or after changing, you can solve it within minutes. Clothing repairs take less effort when supplies live where you use them most.
Quick Closet Checks to Catch Problems Early
Discovering a tear after it spreads feels irritating. To avoid this, give your clothes a quick scan before each wear or after every wash, especially under arms, on cuffs, and along seams prone to stress.
Run fingers along seams for bumps or gaps, hold shirts up to light to spot pinholes, and keep a repair checklist for pieces showing repeated wear. Don’t wait—fixing as soon as discovered stops issues from growing.
Try this script: “I’ll check hems and collars as I fold each piece.” Making checks a five-second step means fewer surprises and more lasting clothes.
Maintaining a Go-To Repair Kit in Every Living Space
Keep your kit in a set location, like an entryway drawer or closet shelf. Place a note (“Clothing Repairs—Open Here!”) to remind you during laundry or outfit changes, so you’re less likely to skip a needed fix.
If you regularly mend for your household, create a shared kit with mini instructions. For children, use bright thread colors for fun and easy supervision, building repair skills early and encouraging independence in tackling minor tears.
Store thread in labeled bags by color and keep needles in a secure container, away from children or pets. A tidy kit makes repairs both fast and routine.
Building Clothing Repair Confidence for Long-Lasting Style
Mastering minor clothing repairs ensures your favorite clothes see more seasons and memories. A few focused skills—like quick stitches and creative patching—are enough to keep wardrobes fresh, empowering you to save money and reduce waste effortlessly.
Routine repairs not only extend garment life, but also transform everyday habits. The ability to fix a small tear becomes part of your micro lifestyle skillset, granting independence, creativity, and real stewardship over your clothing choices.
Next time you spot a rip or fray, grab your kit and step into action. Every repaired item is a quiet victory, and with each one, you gain more confidence to tackle bigger challenges.
Frequently Asked Questions
What are the best supplies for home clothing repairs?
A compact sewing kit with sharp needles, matching threads, a seam ripper, safety pins, iron-on patches, and fabric glue covers most small-tear emergencies quickly and effectively.
Can repairs really last through repeated washes?
Yes, reinforced stitches and properly applied patches hold up through standard laundering. Always knot thread tightly, use even stitches, and allow fabric glue to cure at least overnight before washing.
How do I make repairs less noticeable?
Match thread color closely to the original fabric and stitch from the inside whenever possible. For visible areas, use the hidden-by-fold seam method or try decorative patches that blend with the garment’s fabric style.
Is it safe to use iron-on patches on delicate clothing?
For delicate fabrics, lower iron heat and use a pressing cloth during patch application. Always test on a scrap first and avoid saturating with glue or excess heat to prevent damage or shine.
What if I’m too busy to sew by hand?
Quick fixes like fabric glue, fusible tape, or iron-on patches take only minutes and don’t require sewing skills. Keep these supplies on hand to patch up quickly between other activities, even for beginners.