Sharp changes in climate, unknown foods, and cramped planes can make every little scratch or headache seem bigger away from home. That’s why a first aid kit deserves space in every travel bag. With the right micro lifestyle skills, you’ll turn a basic pouch into a pocket-sized safety net on every trip.
Traveling light doesn’t mean skipping essentials. A thoughtfully packed first aid kit means you stay flexible and comfortable, handling surprises from blisters to sudden allergies without panic. It’s about making micro choices that keep major interruptions at bay.
This guide shares tactical, step-by-step ways to assemble, personalize, and pack your compact first aid kit so you’re equipped for real-world travel moments. Explore simple skills to prioritize, adapt, and maintain your on-the-go health stash—starting right now.
Start with Essentials: Build a Core Kit for Any Trip
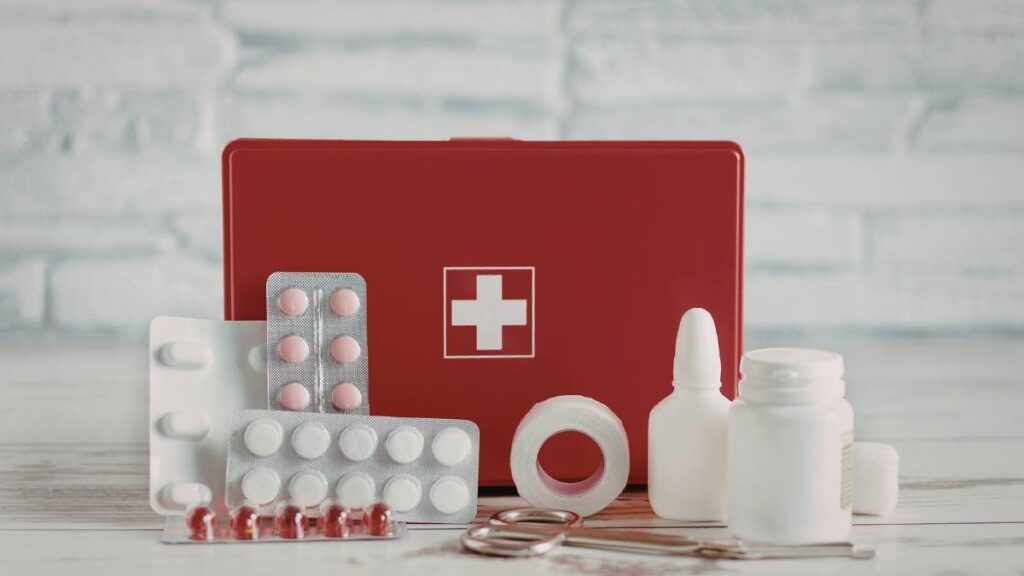
Travelers get practical wins when their first aid kit begins with core supplies and smart layout. Instead of guessing, follow a universal approach to cover minor injuries and common ailments from the start.
Start with sterile bandages, alcohol wipes, and antibiotic ointment. Add assorted pain relievers and allergy pills. Each category serves a purpose: treating cuts promptly, preventing infections, and managing discomfort during transit or at your destination.
Scenario: What a Core Kit Looks Like in Action
Imagine pulling your first aid kit from a backpack after hiking a rocky path. A small adhesive bandage slips onto a scraped finger in seconds, closing the gap between injury and comfort. “Glad I packed that,” you think, instantly relieved.
In a bustling street market, a sudden headache interrupts the experience. You calmly reach for an acetaminophen packet inside your kit, swallow it with bottled water, and get back to exploring—no time wasted searching local pharmacies.
When a new friend reveals a mild bee sting reaction at a park, your antihistamines bring quick relief. The best part is your kit’s compact design sits quietly at the bottom of your bag, never in the way until it’s needed most.
Checklists: Universal First Aid Kit Packing Steps
Open every package to confirm integrity: Sealed wrappers mean sterile dressings. Replace loose or crushed pills after every trip. Keep a custom paper inventory card in your kit’s top pocket, noting what’s missing or used up for restocking at home.
Group wound items, medication, and specialty tools (like tweezers) in mini resealable plastic bags for visibility. Label each group. A quick shake tells you nothing’s left behind before repacking your kit for the next leg of your journey.
If you’re unsure whether a product is allowed in different countries, check it on global airport or customs websites—travelers with detailed lists rarely have their kits confiscated or flagged for further inspection.
| Item | Key Use Case | Packing Tip | Action Step |
|---|---|---|---|
| Adhesive Bandages | Cover cuts, blisters | Stack flat in smallest ziplock | Check for integrity between trips |
| Alcohol Prep Pads | Clean wounds, hands | Fold into side pouch | Restock after group outings |
| Gauze Pads | Handle bigger scrapes | Layer under other items | Swap if expired |
| Tweezers | Remove splinters, ticks | Slide into elastic slot | Sterilize when home |
| Pain Reliever | Headache, body aches | Blister pack, labeled | Count remaining tablets post-trip |
Adapt Your Kit for Local Risks and Plans
Packing a first aid kit that matches your destination’s hazards makes handling emergencies more efficient. Adjust your kit’s content every trip for activities and region-specific issues, so you’ll always have what you need within reach.
For a desert trek, hydration and sunburn supplies take priority. In urban hotspots, extra antiseptic wipes tackle grime. Travelers heading on a cruise or remote adventure benefit from anti-nausea tablets and compact medications for more extended needs.
Customize for Activities in Minutes
If you’re traveling for hiking, add flexible wrap and blister pads—“I want to keep moving even when my feet complain,” you’ll think as you glide the wrap over your ankle after a slip.
- Include flexible fabric bandages for chafing and abrasion worries. These mold to movement and stay stuck, so you won’t face constant reapplication in humid climates or during sweaty activity.
- Pocket a tiny tube of anti-chafing balm. It prevents soreness before it starts and doubles as emergency moisturizer on dry, windy trails.
- Tuck in insect sting swabs and an emergency whistle. Fast response reduces stress. Use the whistle to alert help if bitten in isolated spots.
- Pepper in a small roll of medical tape. Fix gear, close tears, or secure dressings when bandages don’t cut it.
- Add electrolyte packets for hot hiking or biking. These keep energy up and headaches down after hours outside.
Each specialized addition answers “What will this day require?” in your pre-trip routine, making it easy to change kit contents based on your itinerary’s focus.
City and International Trips: Focus Your Kit
For urban, international, or luxury travel, focus on crowded spaces, food unfamiliarity, and varying hygiene levels. Your goal is speed and access, not quantity—no bulk, just effective coverage of metro mishaps.
- Toss in antacid tablets for culinary exploration. When local meals create stomach acid, popping a tab can mean enjoying the rest of your day, not searching for a bathroom.
- Stash a few single-use eye drops for palms-eye exposures. They offer immediate comfort and help you avoid eye rubbing—a beginner’s mistake during dusty or smoggy city adventures.
- Pack a mini disinfectant spray for hands and eaten-on-the-go food. When napkins aren’t enough, one spritz brings reassurance and cuts germ risk around transit handles and market snacks.
- Include dehydration salts for flights. Cabin air dries you out, especially when flying overnight; a single packet before sleep eases the post-landing fog.
- Carry burn ointment for sun or accidental cooking mishaps in rental kitchens or food stalls—apply and move on, not linger in pain.
Each item you swap in trades dead weight for confidence, making the repacked first aid kit feel built for your real, day-to-day travel habits.
Pack for Security and Accessibility Every Time
Your first aid kit should pass airport security and be reachable fast. When you plan for screening rules and practical bag locations, you save time and prevent last-minute stress at checkpoints.
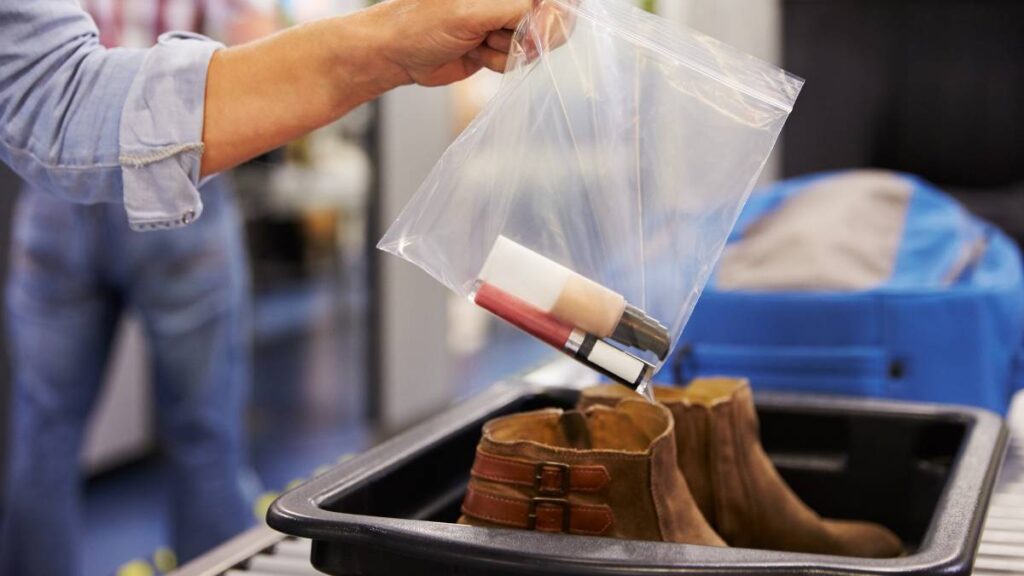
Choose a transparent, zippered pouch in quart or smaller size to show contents at a glance. Security officers spot medical items quickly, minimizing delays and allowing you to explain contents if needed with a prepared sheet or polite note tucked inside.
Small Moves to Make Before You Fly
Travelers who separate liquids into 3.4 oz or smaller bottles never worry about confiscation. Label dropper bottles and ointments clearly. Place a folded medication list on top—”This is my migraine medicine, it’s under legal limits,” you might say confidently if asked.
Liquid gels, such as burn ointment or hand sanitizer, go in their own leakproof zip bag inside the main first aid kit. Lay that bag at the top of carry-on luggage in trays for X-ray inspection—no rooting around, no awkward fumbling in line.
Repurpose a clear travel bag with dividers to keep sharp objects (like scissors or tweezers) apart from pills or creams. At home, regularly check that blades stay under the allowed inch length, updating your kit as flight rules shift over time.
Where to Store for Instant Access in the Field
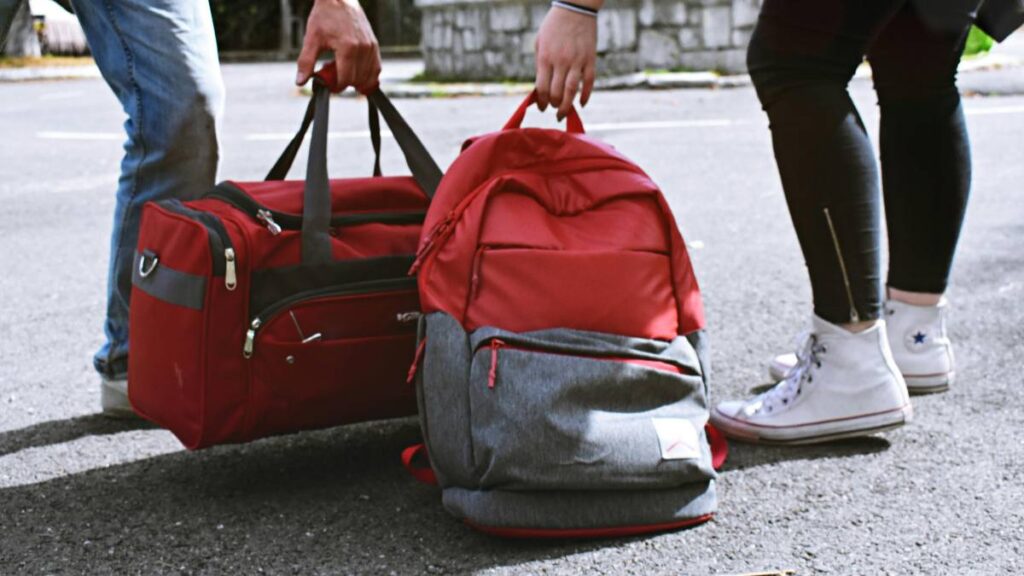
Once you land, shift your first aid kit to the main pocket of a backpack or daypack. If riding trains or buses, slip it into a front pouch you can reach without standing. You don’t want to empty your bag in a pinch for a single bandage.
Attach a mini carabiner to your kit for easy transfer to hiking belts, stroller loops, or picnic baskets. Hanging means it doesn’t sink to the bottom, remaining visible when someone calls, “Does anyone have Band-Aids?” during a group outing.
Inventorize your kit every night on trips longer than three days. Create a ritual: lay items out on your nightstand or locker, restock from spares, and log what’s missing on your phone—future-you will thank you the next day.
Prioritize Space-Saving and Multipurpose Items
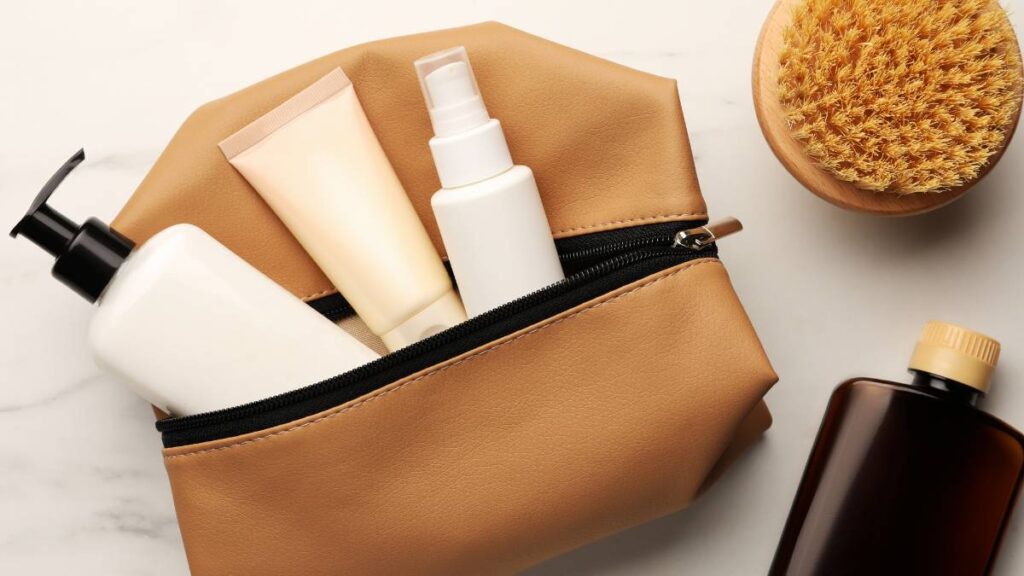
Packing a travel-first first aid kit means swapping bulk for dual-purpose gear. Each compact item in your kit should justify its space by meeting more than one need.
Screen travel stores and pharmacy aisles for multipurpose tools: choose gauze over foam dressings, adhesive medical tape over multiple-sized bandages, and compact reusable tweezers over single-use packets. Think flexibility and reusability whenever you add to your kit.
Packing Tricks for Everyday Travelers
Choose a flat, flexible pouch that expands and shrinks with contents—this shifts easily from urban daypack to beach tote. Use pill organizers for different medications rather than multiple blister packs; label organizers by medication type, not day.
Tightly roll tape around a pencil stub and tape scissors to the kit lid with a Velcro dot for fast unload. Use a straw container for ointments: cut straws, fill with cream, then heat-seal ends—resulting tubes are single-use and ultra-light.
Compress everything with mini vacuum bags or a slider zip pouch. Each item’s place stays constant, so you never forget where the burn gel lives when you’re rushing.
Multipurpose Medication Choices
Packing both ibuprofen and acetaminophen covers pain and fever, but can also reduce swelling and ease muscle aches. Use a folded note explaining which pills suit which symptoms, so any travel companion can help in an emergency.
Oral antihistamines double for allergy or mild cold symptoms—choose a non-drowsy type for daytime and note dosage. Tuck single-dose packs in with wound supplies, separated into a tiny snack-sized baggie with a clear label marked ‘Allergies/Cough.’
Apply a dab of petroleum jelly on wounds, dry lips, or shoes to prevent blisters. A single half-ounce tube covers multiple needs and survives temperature swings, unlike some delicate balms or ointments that leak in heat.
Maintain Your Kit: Fresh, Legal, and Ready for the Next Trip
A first aid kit works when every item is fresh and compliant with travel regulations. Setting a calendar alert for monthly or pre-trip checks gives your kit a new-trip lifespan without surprises.
Set aside 10 minutes the day before departure. Empty the contents onto a clean cloth and check every expiration date. Replace what’s close to expiring; keep a running note in your phone or travel notebook for future purchases.
Mini Checklist for Pre-Trip Kit Review
Lay out each group: wound care, medication, tools, specialty supplies. Look for rips, leaks, or worn labels. Rebag loose items and update the inventory card so every traveler can see at a glance what’s on hand—even in the middle of a jet-lagged morning.
Test closures on zipped pouches and waterproof bags. Leaky seals force items out of sterility, making them less effective when you need them most. Always have extra zip bags handy in your kit’s rear pocket for quick swaps mid-trip.
Check regional requirements for medications, especially for prescription or controlled substances. Keep any doctor’s notes in your kit’s back panel for international trips, decreasing explanations if questioned at airport security or customs.
Routine Practice: Use and Restock Without Overthinking
Frequent travelers build micro lifestyle habits around their first aid kit so it becomes automatic: use, restock, and ready to go again. These habits cut downtime and relieve stress every time something small goes wrong on the road.
After a day out, open the kit and review what you used, rebagging small tools and refilling single-use meds. Make it part of your nightly wind-down—this rhythm keeps you ahead, not scrambling for supplies on your next adventure.
- Refill used bandages at your hotel’s reception or local pharmacy. Ask for “bandage packets, not boxes” to keep your kit lean and topped up.
- Restock painkillers in small doses. Buy travel-size packs or wrap two or three from a larger bottle in a paper napkin, securing with a rubber band for the kit.
- Sanitize tweezers and scissors with a disinfectant wipe after every use, even if only for a splinter. Trust is good, but visible, regular cleaning is better for next time.
- Note what isn’t used over several trips. Remove excess for future journeys, freeing space for trip-specific needs—a sign your kit is evolving with your routine.
- Create a five-minute Sunday checklist for your return bag; review and repack your kit so it’s always ready when spontaneity strikes.
These small habits strengthen the feeling of control and prepare you—not with bulk, but with practice and confidence every step of the way.
Frequently Asked Questions
What’s the minimum I should include in a compact first aid kit for air travel?
Start with bandages, alcohol pads, painkillers, a few allergy pills, tweezers, and wound ointment. Use travel-size or single-dose packets to comply with air travel limits. Store everything in a lightweight zip pouch that fits easily inside your carry-on.
How do I store liquids or gels like ointment in my kit for airport security?
Place all gels and creams in 3.4 oz (100 ml) or smaller containers. Keep these in a separate, clear, resealable bag within your first aid kit. Always declare prescription creams when passing through security, accompanied by a labeled doctor’s note if needed.
Can I bring prescription medications in my travel first aid kit?
Yes, but keep them in their original labeled bottles. Carry only the needed amount for your trip. For international travel, bring a written prescription or doctor’s note, as this simplifies customs checks and prevents confiscation or delays.
How do I keep my first aid kit updated and restocked?
Review supplies before and after trips. Replace any used or expired items. Consider keeping a digital or paper checklist in your kit for fast review. Set reminders to check your kit monthly if you travel frequently, ensuring nothing’s missing when you need it.
Should I change my first aid kit for certain destinations?
Absolutely. For wilderness or extreme activities, add extras such as moleskin, anti-chafing cream, and electrolyte packets. In urban settings, focus on medications for stomach upsets and hygiene wipes. Adjust your kit to local risks and your planned activities for best results.