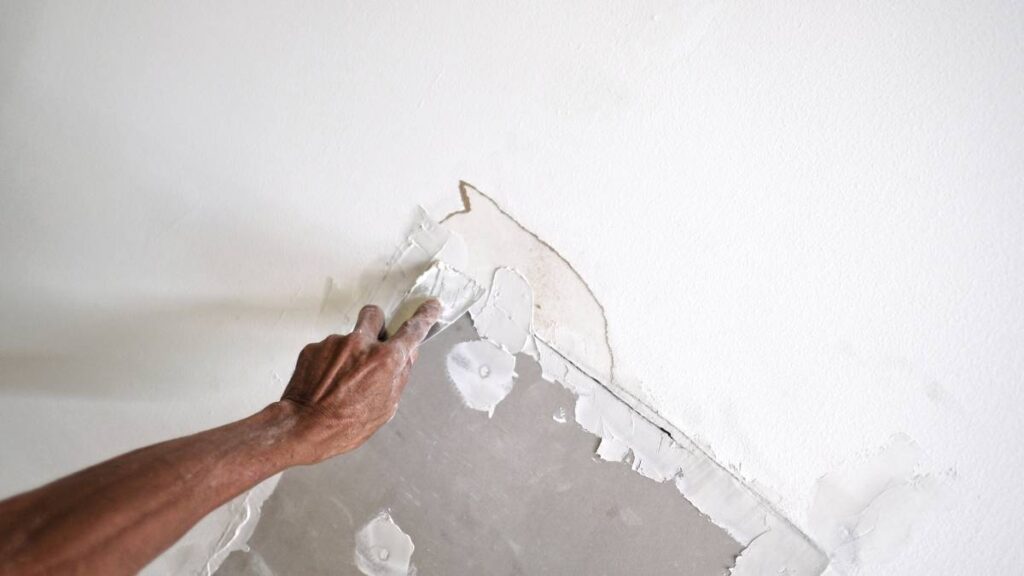
It’s easy to spot a small hole in the wall—a misplaced picture hook or doorknob mishap leaves those unwanted gaps. They’re minor annoyances, but drywall holes can’t go ignored for long.
A clean wall does more than just look better. Fixing tiny damaged spots keeps your space tidy, prevents bigger repairs, and saves time later. Micro skills for small drywall holes matter for renters, homeowners, and anyone with a hammer’s confidence.
Got a little drywall dent or gouge? Stay with this guide. You’ll leave with confident, practical steps to fix drywall holes today—no special skills needed.
Essential Prep Steps to Tackle Small Drywall Repairs the Right Way
Arriving prepared speeds up drywall hole repairs. Gather your materials before you start and the process goes faster, with less mess and fewer interruptions.
Setting the stage for success starts with a simple checklist: patch, putty knife, sanding pad, and just a spot of patience. Most drywall holes respond to this straightforward setup.
When to Clean the Area Before You Patch
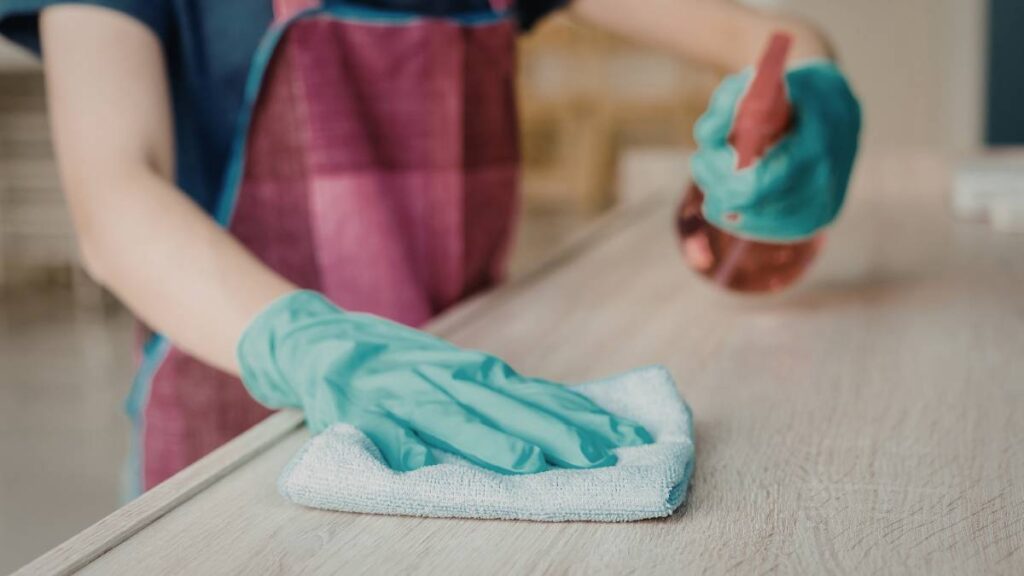
Before picking up any product, clear dust or debris from the drywall hole. A soft cloth or tiny vacuum nozzle works perfectly here. The patch job sticks better and blends seamlessly once the spot’s dust-free.
If there’s loose paper around the hole, trim it away using a utility knife. Avoid digging deeper—your goal is smooth, sturdy edges. This little effort now pays off in a neater finish.
A quick wipe-down with a damp cloth removes leftover smudges. Let it dry for a few minutes before you proceed. Now you’re ready for the next patch step.
Smart Gear Choices for Beginners
Buy a small tub of pre-mixed joint compound—no mixing needed. Choose a plastic putty knife for gentler control if you’re new to drywall holes, and avoid scratching the surrounding wall.
A sanding sponge fits over your fingers, allowing precise moves. Opt for fine-grit (180–220) paper for minor holes. Grab a damp sponge, painter’s tape, and a patch if your hole is wider than a dime.
Lay down a drop cloth or old towel before you get working. This micro-step makes cleanup easier and keeps dust from spreading to carpets or furniture nearby.
| Tool | Use | Best For | Takeaway Step |
|---|---|---|---|
| Putty Knife | Spread compound smoothly | Small drywall holes | Apply with steady, angled strokes |
| Sanding Sponge | Smooths dried surface | Finishing repair | Sand lightly with circular motions |
| Pre-mixed Compound | Patching hole | Everyday wall dings | Scoop just enough to fill dent |
| Damp Cloth | Removes dust | Pre-repair cleaning | Wipe gently and let dry |
| Mesh Patch | Reinforces bigger holes | Nickel-sized or larger | Press flat before adding compound |
Filling, Patching, and Smoothing: What to Do for Lasting Results
Your outcome improves when you use the right patch and filler. Go for spackle on nail holes and lightweight joint compound for quarter-sized drywall holes or wider.
Apply your product with the knife set at a 45-degree angle. Glide it in one smooth motion outward to feather the edges—avoid overworking to keep the fix even.
Mixing and Matching Repairs by Hole Size
Match your repair method to the drywall hole. For a pinhole, a dab of spackle on your fingertip does the trick. For holes bigger than a pencil eraser, use the putty knife.
If you can fit your pinky in the hole, stick a mesh patch over the opening before applying compound. Bigger holes need a layered approach for structure and finish.
Never stuff paper or fabric in a drywall hole. These expand or contract, cracking your patch later. Stick to dedicated patch products for smooth, safe repairs that last.
- Clean area thoroughly: Keeps patch from cracking or peeling as dust blocks adhesion.
- Use a fine-grit sanding sponge: Blends the patch into the wall after drying for a seamless look.
- Apply a thin coat first: Prevents ridges and overbuilt bumps around the drywall hole.
- Feather out filler: Widens edges beyond hole radius for even coverage.
- Let fully dry before sanding: Ensures repair is solid and supports next layer or paint.
Once the first layer sets, inspect at eye level. Small indents need another tiny swipe of compound and repeat sanding for invisible results.
Smoothing and Blending Edges for a Flawless Wall
Circular sanding works best to blend new patches into existing drywall. It avoids sharp lines and keeps transitions invisible once you paint.
Hold your sanding sponge like a bar of soap. Light, controlled pressure avoids scoring or scratching the area around the drywall filling spot.
After sanding, dust the area off again with a soft brush or microfiber rag. Clean surfaces help paint adhere and deliver a true finish color.
- Paint only when dry: Tackiness or coolness means moisture remains—wait for a solid touch before painting.
- Prime over patches: Prevents dull or blotchy finish on the repair zone.
- Check repair under different light: Shadows reveal lumps; sand until smooth in all lighting.
- Use small foam roller: Paint blends best with gentle pressure and minimal brush marks over patched drywall holes.
- Compare color with touch-ups first: Test a swatch to ensure your old and new paint match.
Consistent feathering and sanding creates a patch you’ll forget was ever there. Check with fingertips for evenness before calling it done.
Learning from Real-World Mistakes and Getting Repairs Right
Effective drywall repairs come from facing little errors, like using too much filler or sanding too aggressively. Recognizing common slip-ups saves time and energy in the future.
Think of patching drywall holes like icing cupcakes—you want just enough topping to disguise, but not overwhelm, the base. The trick is learning when to stop.
Fixing Overfilled and Uneven Patches
An easy way to spot overfilling: the patch area bulges or looks shiny compared to the wall. Remedy this by gently sanding away excess, using a clean, fine-grit sponge.
If you notice pitting or hollow spots after sanding, apply a half-pea-sized amount of compound to the low area, let dry, and sand flat again. Repeat only if needed.
Don’t rush to paint—doing so traps moisture under the surface. Waiting until the patch feels bone-dry makes your fix invisible and long-lasting.
Avoiding Common Sanding and Painting Errors
Sanding in opposite directions or using coarse paper can gouge the wall. Always sand in gentle circles, working outward from the drywall hole, to create a seamless transition.
Painting a patch without primer leads to uneven sheen and premature flaking. Even if the paint claims “primer included,” take the extra step with true primer on new repairs.
Use painter’s tape to mask borders around the patch area. Remove it before the final coat dries, so you don’t tear off any of the fresh paint or compound.
Choosing the Right Products for Your Project Needs
Using the correct tools and fillers ensures the repair blends into your wall and stands up over time. Lightweight spackles are ideal for tiny dings, while mesh-backed patch kits fit quarter-sized or bigger drywall holes.
Focus on user-friendly products that allow for mistakes and learning. Avoid old or dried-out compounds—fresh material spreads smoother and sets faster, especially in small-scale patch jobs.
Material Durability: Tradeoffs and Tips
Fast-dry spackles let you paint sooner, but may shrink more. Traditional joint compound dries slower, creating a solid bond for high-traffic spots on drywall holes but requires patience.
For maximum blend, use products labeled “paintable and sandable.” These resist cracking—even if your wall flexes from a slamming door or shifting furniture.
Consider kits that include a sanding sponge, compound, and step-by-step instructions if you’re patching drywall holes for the first time. These packages simplify decision-making and guide you start-to-finish.
| Product Type | Dry Time | Main Benefit | Situational Use |
|---|---|---|---|
| Pre-mixed Spackle | 30 min | Ready to use, fast cleanup | Picture-nail holes, tiny chips |
| Joint Compound | 1–2 hrs | Durable and sandable | Larger or repeat drywall holes |
| Mesh Patch Kit | 1 hr (plus drying) | Reinforces large patches | Quarter-sized, deep holes |
| Primer/Sealer | 40 min | Preps repaired surface | Painting over patched area |
| Foam Roller | Quick rolling | Even paint texture | Smooth covering post-patch |
Timing and Technique: Blending Repairs for an Invisible Finish
Good repairs don’t rush between steps. Let each layer on drywall holes dry fully before sanding or painting—speed now leads to touchups later. Your wall will thank you for patience.
Set a timer or use the back of your hand to check for dryness; cold or sticky spots need more time. Clean, dust-free surfaces receive paint best and reveal your patch work as invisible.
Sneaky Lighting Checks for Perfect Patches
Hold a lamp sideways to the wall to make shadows accentuate bumps or divots. If you spot shadows, sand again with soft, controlled pressure until the area looks completely flat.
Running your fingertips gently along the dry patch can double-check smoothness. Let texture guide your touch—smooth, even transitions prove you’re ready for paint.
Applying primer with a mini foam roller, not a brush, delivers a subtle finish. Wait an hour, then blend topcoat paint out beyond the patch borders for a seamless wall.
Real-World Blending Examples
After fixing a drywall hole, Kelly paints a dinner-plate ring around the patch—she feathers out edges to hide color variations. She checks in morning and evening light, sanding once more before the final coat.
Mike, after patching his hallway, uses leftover wall paint and a roller to avoid brush lines. When dry, even close friends can’t find the fix unless told exactly where it is.
Each approach keeps the repair simple. Focus on matching your patch size and paint blend to your unique space for results anyone can be proud of.
Small Holes, Big Impact: Keeping Your Space Fresh and Functional
Tackling drywall holes teaches attention to tiny household details. Regular repairs encourage better wall care habits and help avoid costlier, time-consuming fixes down the road.
Drywall maintenance is like brushing teeth: done regularly, it keeps everything looking and working as it should. Big issues shrink when you treat small holes quickly and with care.
Mini Checklist: Stay Ahead of Drywall Problems
Post-repair, walk through each room monthly to note any new marks or drywall holes. Jot down location and size as a quick fix-it log for the next Saturday chore.
If you notice repeat holes in a specific area, consider installing a doorstop or furniture bumper to avoid damage. Preventing future holes is as valuable as fixing them.
Keep a mini-kit ready with leftover spackle and a sanding sponge. That way, minor dings never become overwhelming jobs or embarrassing eyesores over time.
- Inspect walls monthly: Catches damage early, saving bigger repairs.
- Keep supplies in a handy spot: Makes patching convenient for everyone in the household.
- Try to match paint upfront: Reduces mismatched touch-ups and future painting projects.
- Use doorstops for high-traffic areas: Protects from doorknob dents before they happen.
- Share quick fix steps with others: Builds a culture of home care and self-sufficiency in your space.
Every repaired drywall hole adds to your sense of ownership and peace of mind. Plus, smooth walls impress guests and lift the whole vibe of your living area.
Frequently Asked Questions
What’s the best patching method for nail holes versus larger drywall holes?
For nail holes, use lightweight spackle and your finger or a mini putty knife—it dries fast and barely needs sanding. Larger holes need a mesh patch and layered joint compound, ensuring each coat dries before sanding and painting for durability.
How long should I wait before painting after repairing a drywall hole?
Wait until the patch feels completely dry to the touch—usually about 30–60 minutes for spackles, and 1–4 hours for deeper joint compound repairs. Painting too soon traps moisture, causing peeling or uneven finish.
Should I always use primer over repaired areas?
Yes, even if the paint says “primer included”. Primer seals the new compound and helps hide the patch. Skipping primer risks an uneven finish, especially with glossy or deep wall colors.
Does the repair process differ on painted versus unpainted walls?
Yes. On painted walls, matching paint and sheen is key after patching. Unpainted walls may need additional priming before and after the patch to create a consistent texture for new paint to grip and blend in properly.
What’s the fastest way to get a smooth finish on a drywall hole repair?
Apply a thin patch layer, feather outward, let fully dry, sand lightly in circles, check under good lighting, and prime before painting. Rushing leads to visible bumps, so extra patience at each step pays off with a flawless appearance.